Step 3 - Mounting the feeder (UM extrusion upgrade kit)
Obviously, the details depend on what feeder you're using. We will describe this step using the extrusion upgrade kit but adapting to the Bondtech option should be pretty straightforward.
Time required
2-4 hrs for printing, 30 min for assembling
Options
This documentation covers the standard, fixed feeder mount. There is an adjustable version as well, which allows for tilting the feeder back and forth. This is an option if you have trouble finding the correct bowden tube length for a smooth docking process (see step 5 - calibration).
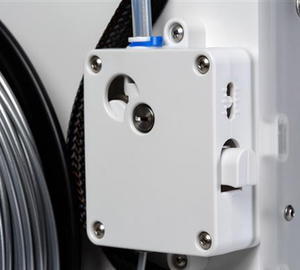
We are going to mount the feeder to the top left corner (seen from behind). This way you can use the bowden tube that comes with the upgrade kit without any modification. That's how it should look like when finished.

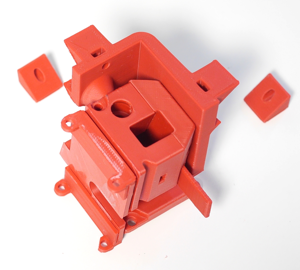
Download the stl files from Github, you need:
- feeder-mount or
- feeder-mount-roof
Recommended print settings are:
- 0.1 mm layer height (important),
- 3 lines for the walls,
- bottom/top thickness 1 mm,
- infill 25%.

Besides the printed part you need:
- feeder, stepper, wire harness, bowden tube from the extrusion upgrade kit
- the printed mounting bracket
- 2 M3x20mm screws for mounting the bracket to the frame (replacing the original screws)
- 4 M3x16mm screws for mounting the stepper
- 2 M3x20mm screws, 2 M3 nuts for mounting the feeder
- 8 M3 washers

Unscrew the two top left screws on the back panel.

Mount the bracket, using two washers

Mount the stepper with 4 screws and washers.


Push two M3 nuts into the hexgonally shaped recesses and mount the feeder housing with two screws.

Feeder mount completed.

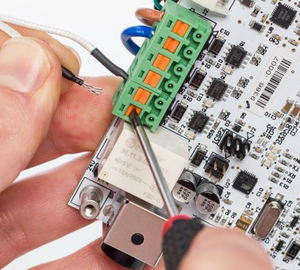
Attach the bowden and pass the wire harness and the stepper cable to the electronics board in the bottom.
Please note: Ultimaker changed the layout of holes in the back panel over time. Yours might look different than the one shown here.

Finished!
You can put the additional spool next to the the first one as well if you like. However we prefer mounting it to the side.


