Step 1 - What you need and how to get it
Disclaimer
The Mark2 project is a community project. It was started by UM forum user foehnsturm and tested by volunteers. The project is not affiliated with Ultimaker B.V. in any way.
Further, this is a hack. By modifying your printer for the Mark2, you accept all risk and responsibility. Neither Ultimaker B.V., nor foehnsturm, nor any of the resellers or volunteer testers shall be held liable for any damages or injuries that may occur from the installation or usage of any part of this project. THIS PROJECT AND ASSOCIATED KITS ARE PROVIDED “AS IS” AND WITHOUT ANY EXPRESS OR IMPLIED WARRANTIES, INCLUDING, WITHOUT LIMITATION, THE IMPLIED WARRANTIES OF MERCHANTABILITY AND FITNESS FOR A PARTICULAR PURPOSE.
Please check if your Ultimaker 2+ has been manufactured 2017 and later
You need 5 motor drivers, the latest UM2's, probably starting early 2017 miss the 5th driver. If this is the case you can try to get a board at an ultimaker reseller (very expensive) or get a chinese clone for about 75,- Be aware that you need to pay attention when using a clone board, it's been reported some have the connectors for LED's and fan's mounted up-side-down so CHECK THIS before installing.
Overview
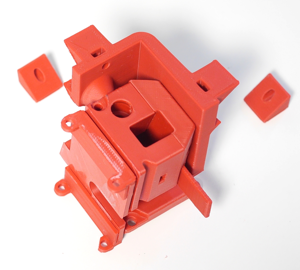
Besides the stuff on Github, we're basically talking about two things: the second drive train (feeder, hotend, printhead parts, wiring) and some Mark2 specific parts.
Download the BOM from github. There are two sheets: a simple BOM and a detailed one. If you go for the option with the UM extrusion upgrade kit, you're most likely fine with the simple version.
Drive train (feeder, hotend)
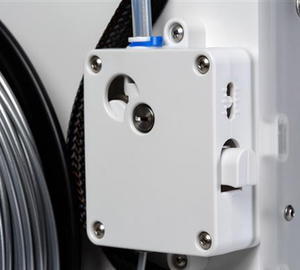
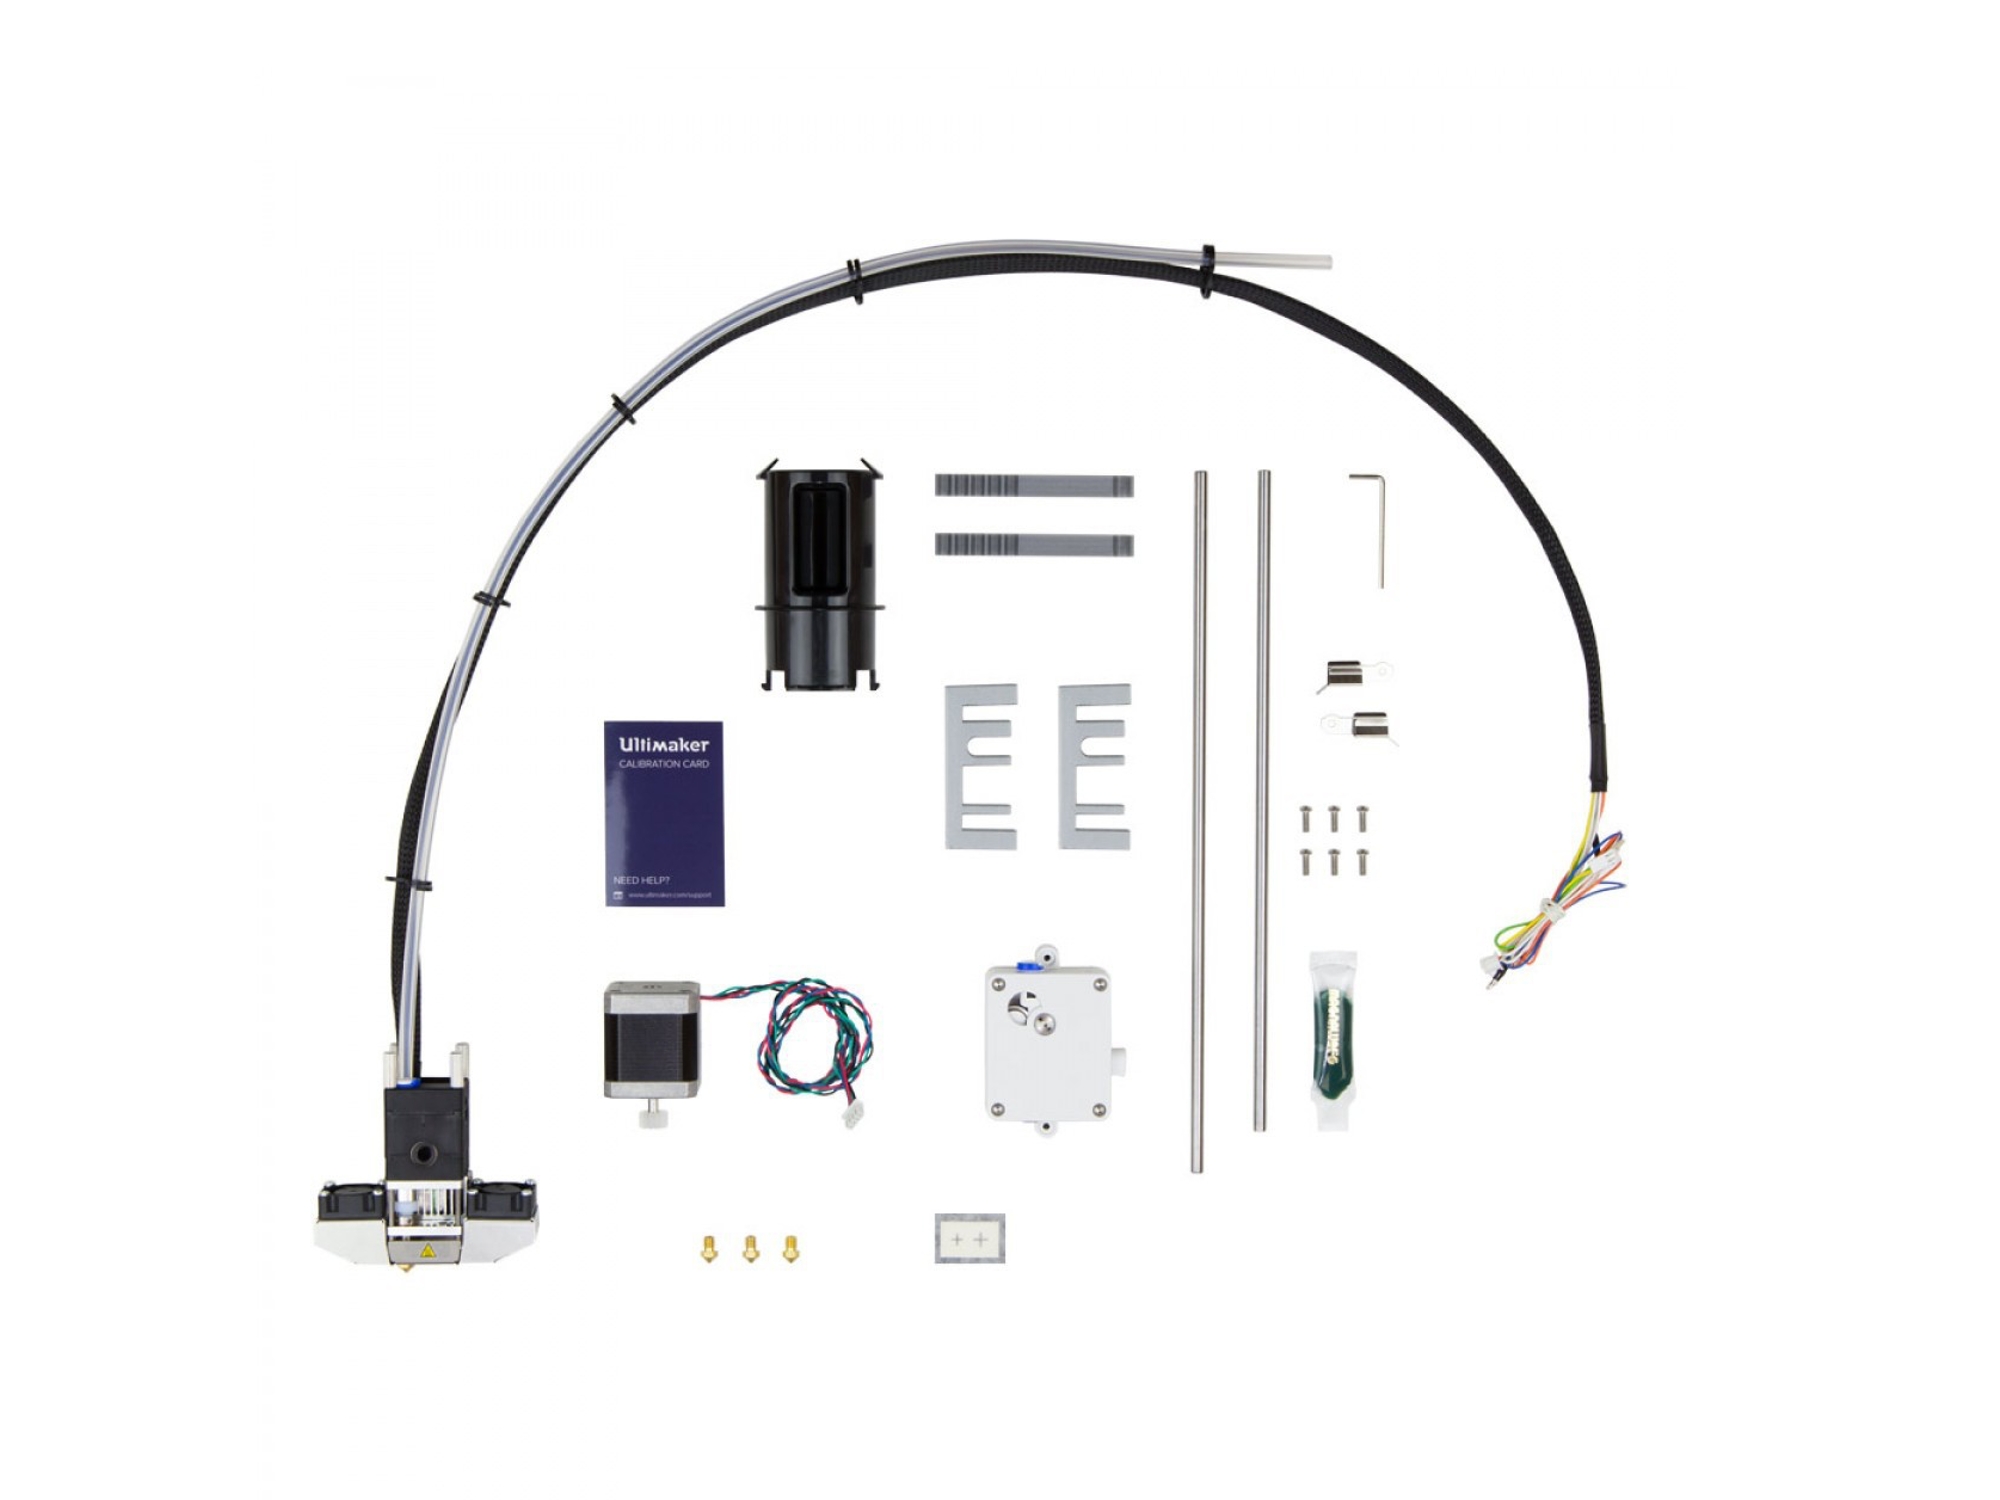
Drive train option 1 - Ultimaker extrusion upgrade
By far the easiest option.
If you are starting with a UM2+, get one Extrusion Upgrade kit.If you are starting with a UM2 (non-plus) you might want to upgrade to the UM2+ at the same time, which requires two kits.
The kit includes some parts you won't need for Mark2 (shafts, but good to have these a spares, plastic printhead parts).
The extrusion upgrade currently costs € 395,- + tax.
Drive train option 2 - Bondtech
Get a Ultimaker 2 QR extruder upgrade kit 2.85/3.0 from Bondtech.
Same here, you might want to upgrade both feeders at the same time, which requires two kits.
This kit is currently € 144,20 + tax. The Bondtech kit however only includes the feeder and the parts required to mount it, which leads us to:

Drive train option 2 - continued
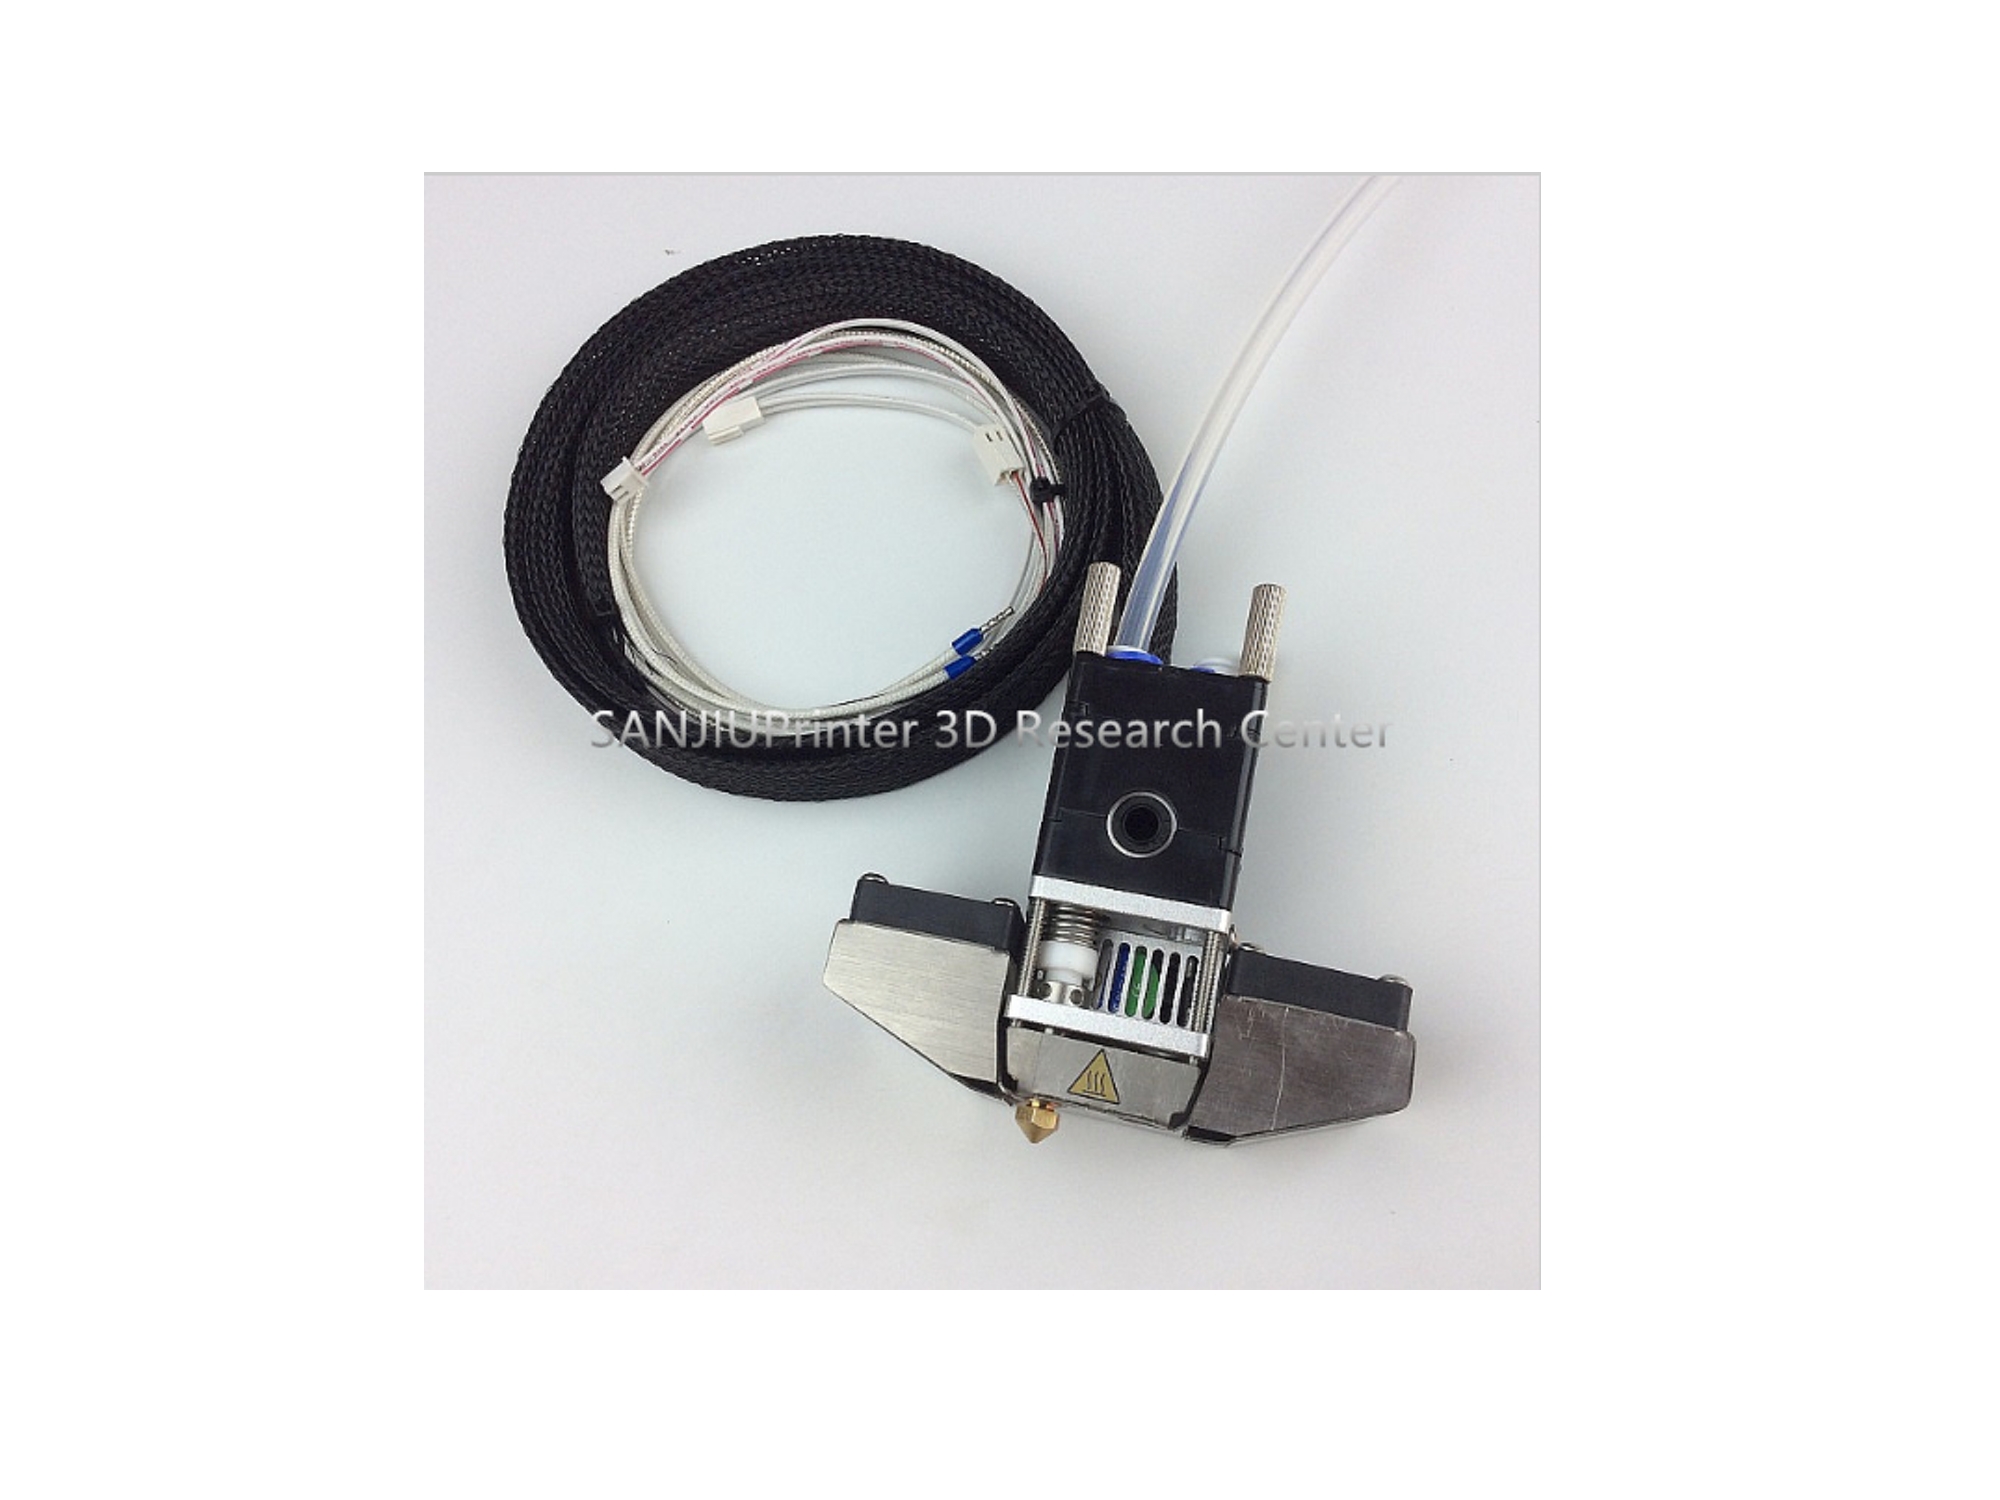
Search for a UM2+ print head at sources like aliexpress.
The important parts you want to use are:
the aluminum parts,
wire harness,
heater and temp sensor,
fan bracket and fans.
The hotend and nozzle might be crappy, so be prepared to replace it with a decent Olsson block or 3Dsolex hotend. You should find such a print head for around $ 85. In total, option 2 should cost around € 240,- (eventually plus another € 80 for a hotend).
Other feeder options
Of course you can use any other feeder which is suitable for the UM2. The detailed BOM lists some of them.
Mark2 Essentials
Magnets and screws
Magnets: You need at least 8 magnets of size 6 mm (diameter) x 3 mm (thickness), with a holding force of approx. 900 gr. It's a good idea to get some more. Metric sized magnets may be hard to source in some countries :P but we'll help you out. Then you will need some M3 screws and nuts. Find them listed in detail in the BOM.
Y-cables and cable extensions / Mark2 board
For connecting the 2nd printhead you have two choices:
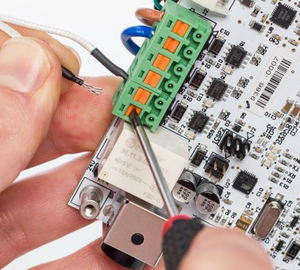
- Get some Y-cables and cable extensions to extend the wire harness and connect directly to the board.
- Get the Mark2 extension board

(the picture shows my home made cable stuff not the one we will have manufactured ;)
Here you can get the Mark2 Essentials package including the Mark2 expansion board, the magnets and all the required screws and cables:
located in Belgium, ships to all of Europe:
www.ideato3d.be
located in USA, ships to Canada, USA, Mexico
thegr5store.com
located in Switzerland, ships worldwide, except EU
www.dim3nsions.ch
Required and Recommended Tools
In addition the Essentials Kit and the required hardware, you will also need the following tools: The M3 hex wrench/allen key that came with your printer, or equivalent. It is the one used to adjust feeder tension, for example. A pair of pliers, a wrench or a driver set (M5.5) for loosening and tightening nuts. Some sandpaper to smooth the docking arm. A pair of pliers or vice grips can help with inserting nuts and magnets into printed parts if the holes are very tight. A hobby knife (e.g. Exacto knife) and small files are useful for cleaning up printed parts if necessary. A decent pair of tweezers is helpful for getting into tight places and precision placement.

